


Basic Sourdough Guide - Supplies and Your Starter
Part 1 of 2

Hello! This is the beginning of my basic sourdough guide. I haven’t been baking sourdough for all that long, but I can crank out a mean basic loaf and I’ll teach you how to do that, too. These are the things that work for me and give me consistently good sourdough.
Why Sourdough?
Other than it being the most delicious bread? For years I suspected I was gluten intolerant. I had symptoms of it, sometimes very uncomfortably so. I tested off the charts as being intolerant. I ate GF for YEARS. But at some point I started to suspect that either my gut had healed enough to consume it or that I wasn’t actually gluten intolerant. I think that my underlying symptoms come from the amount of pesticides that are sprayed on wheat AND modified and improperly processed grains.
I chose to experiment with long fermented sourdough as a means to test my intolerance. I haven’t had ANY symptoms.
The Difference:
A sourdough starter culture is a combination of water and flour. Overtime your starter will cultivate wild yeast (not to be confused with store bought commercial yeast) and bacteria by sitting on your warm kitchen counter. The starter then acts as the leavening agent in your bread (what makes your bread rise). It takes some care as it is a living thing.
The bacteria and wild yeast in a sourdough starter breaks down a lot of the gluten, as does a long fermentation time of your dough, making it easier to digest.
I also purchase heritage flours from Sunrise Flour Mill or Azure Standard. These grains are not hybridized, enriched, bromated, bleached, and are organic. These flours are processed properly, which also makes a difference. A lot of conventional grains are rushed through the milling process, which can make them hard to digest for some.
Supplies
Before you get started, you’re going to need to make sure you have some basic supplies. You can get fancy, specific sourdough tools, or you can make do with what you probably already have in your kitchen. I have found that having the sourdough tools makes things easier for me, they’re not too expensive to purchase, and they’re easy to find on Amazon.
What You’ll Need:
Glass mason jars for your starter
A kitchen scale that weighs in grams (must have)
Rubber bands
Large mixing bowl
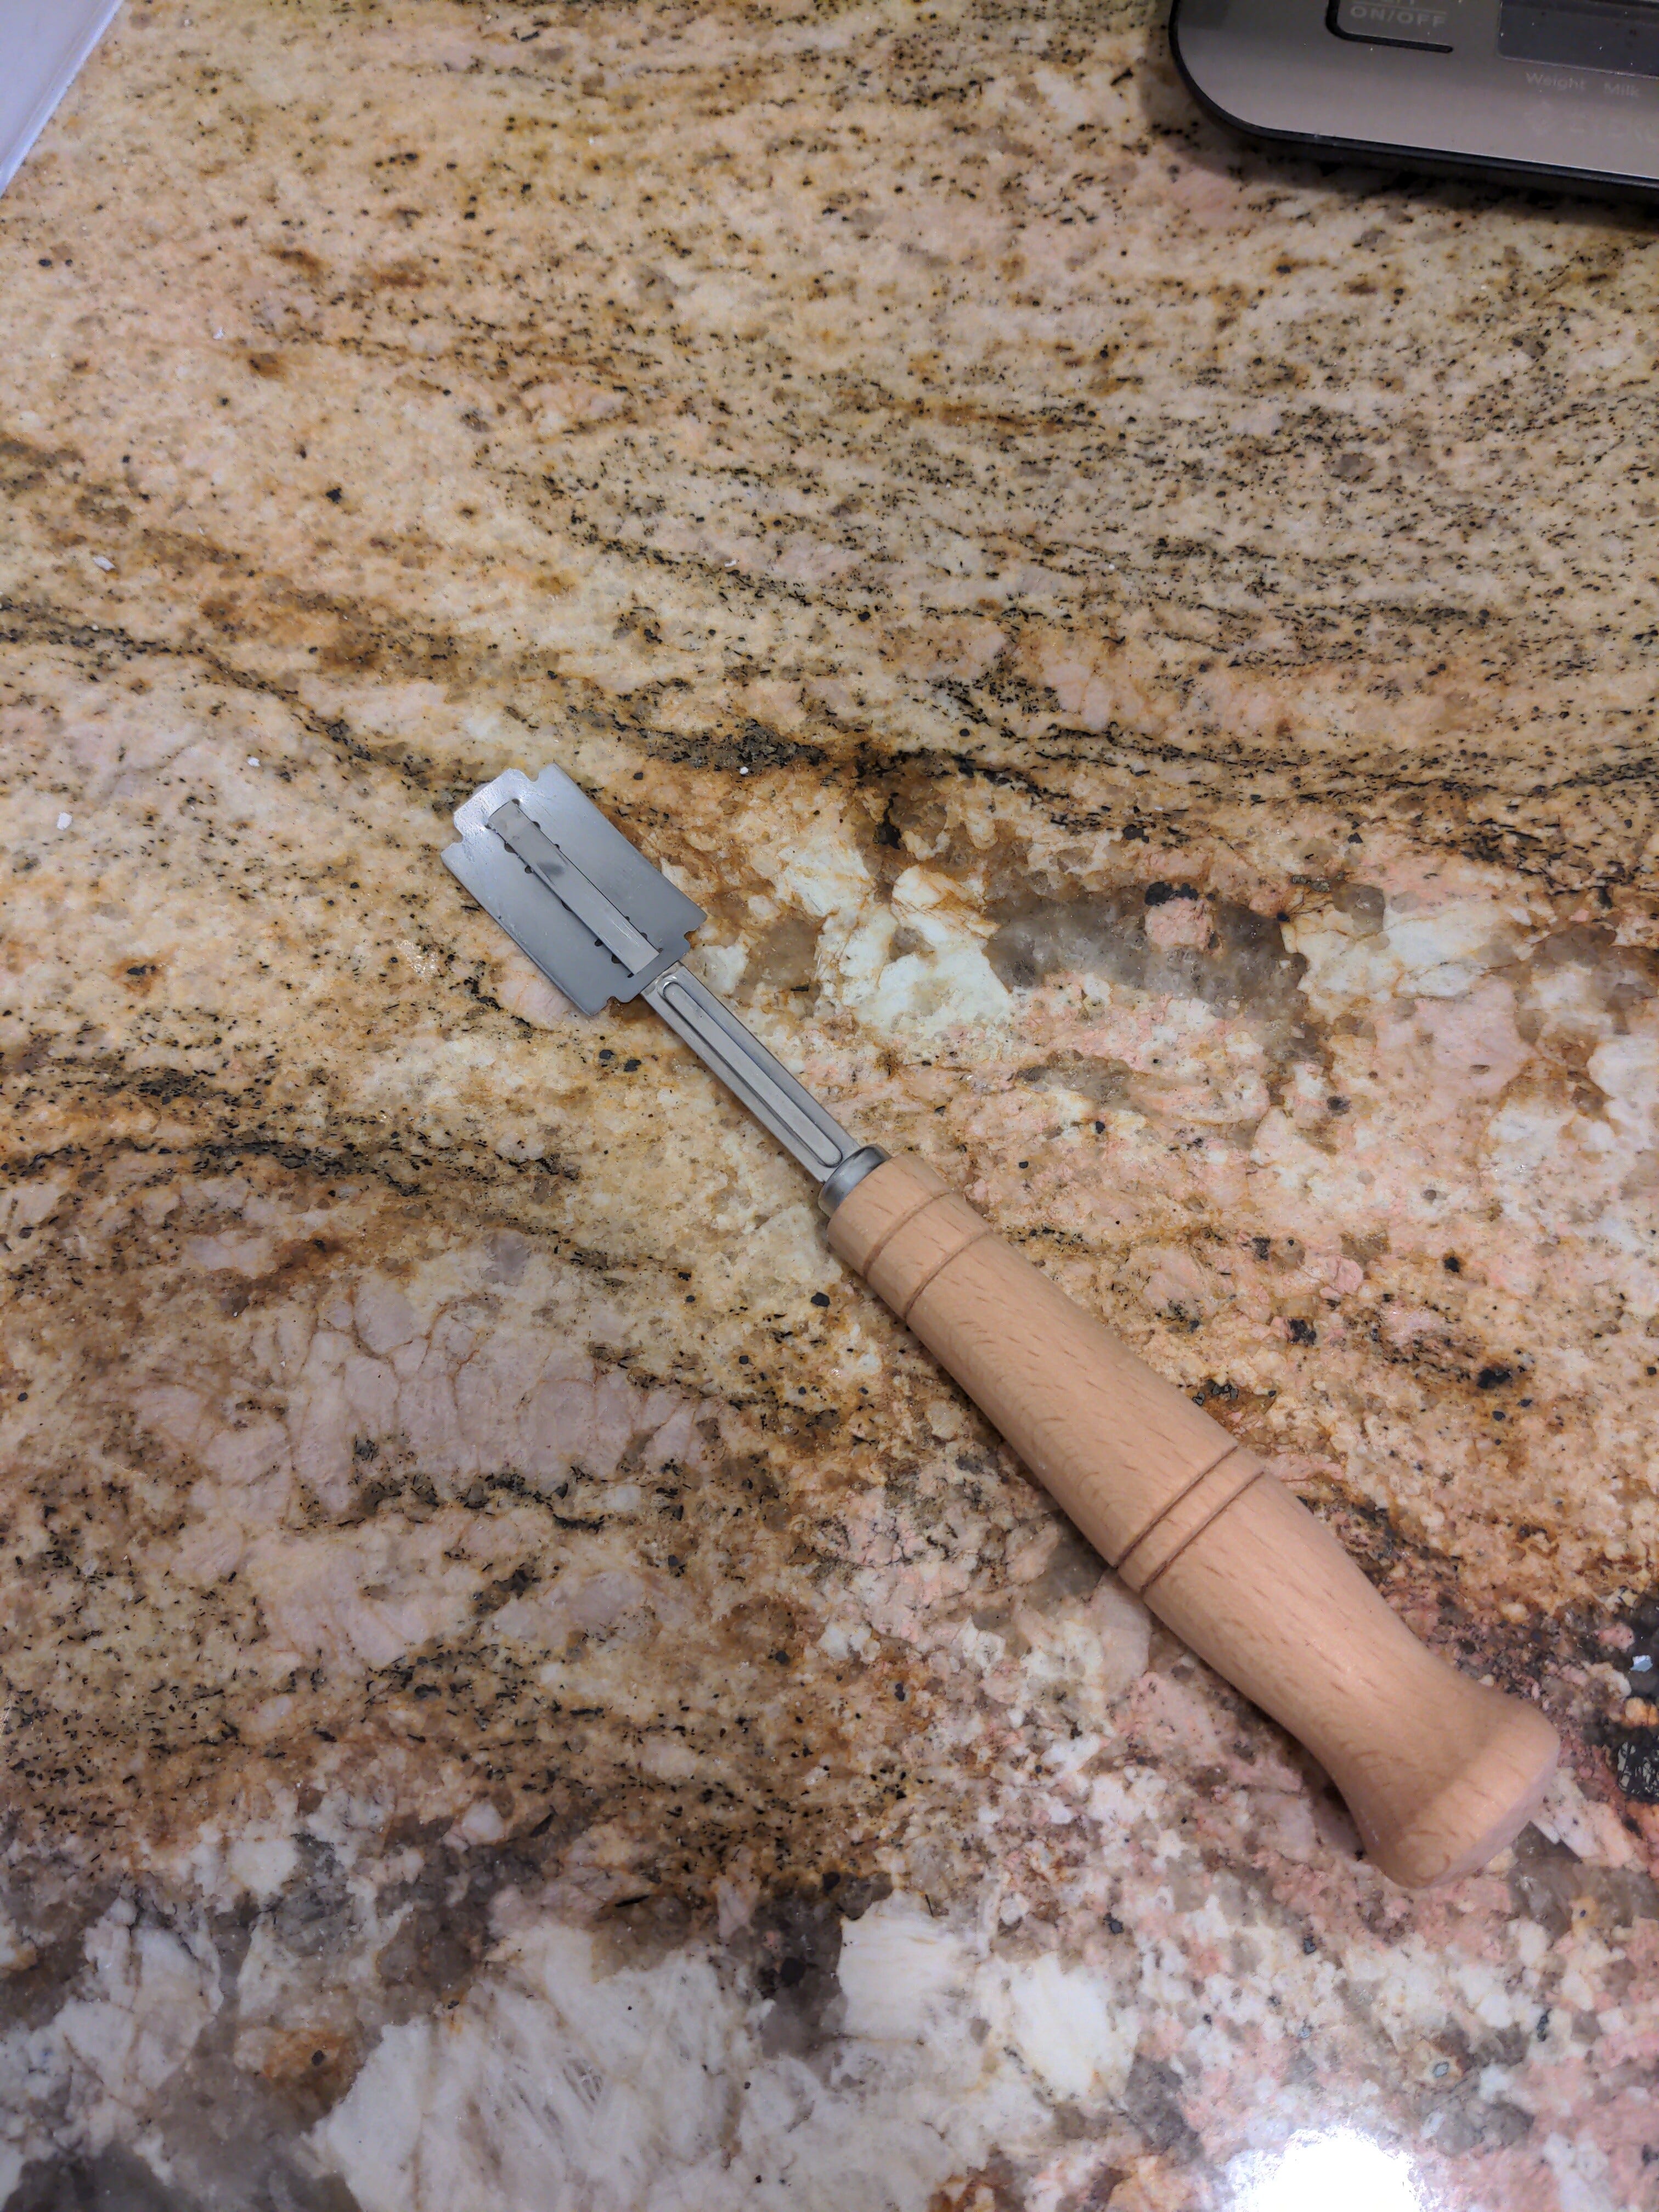
Bread lame or sharp knife
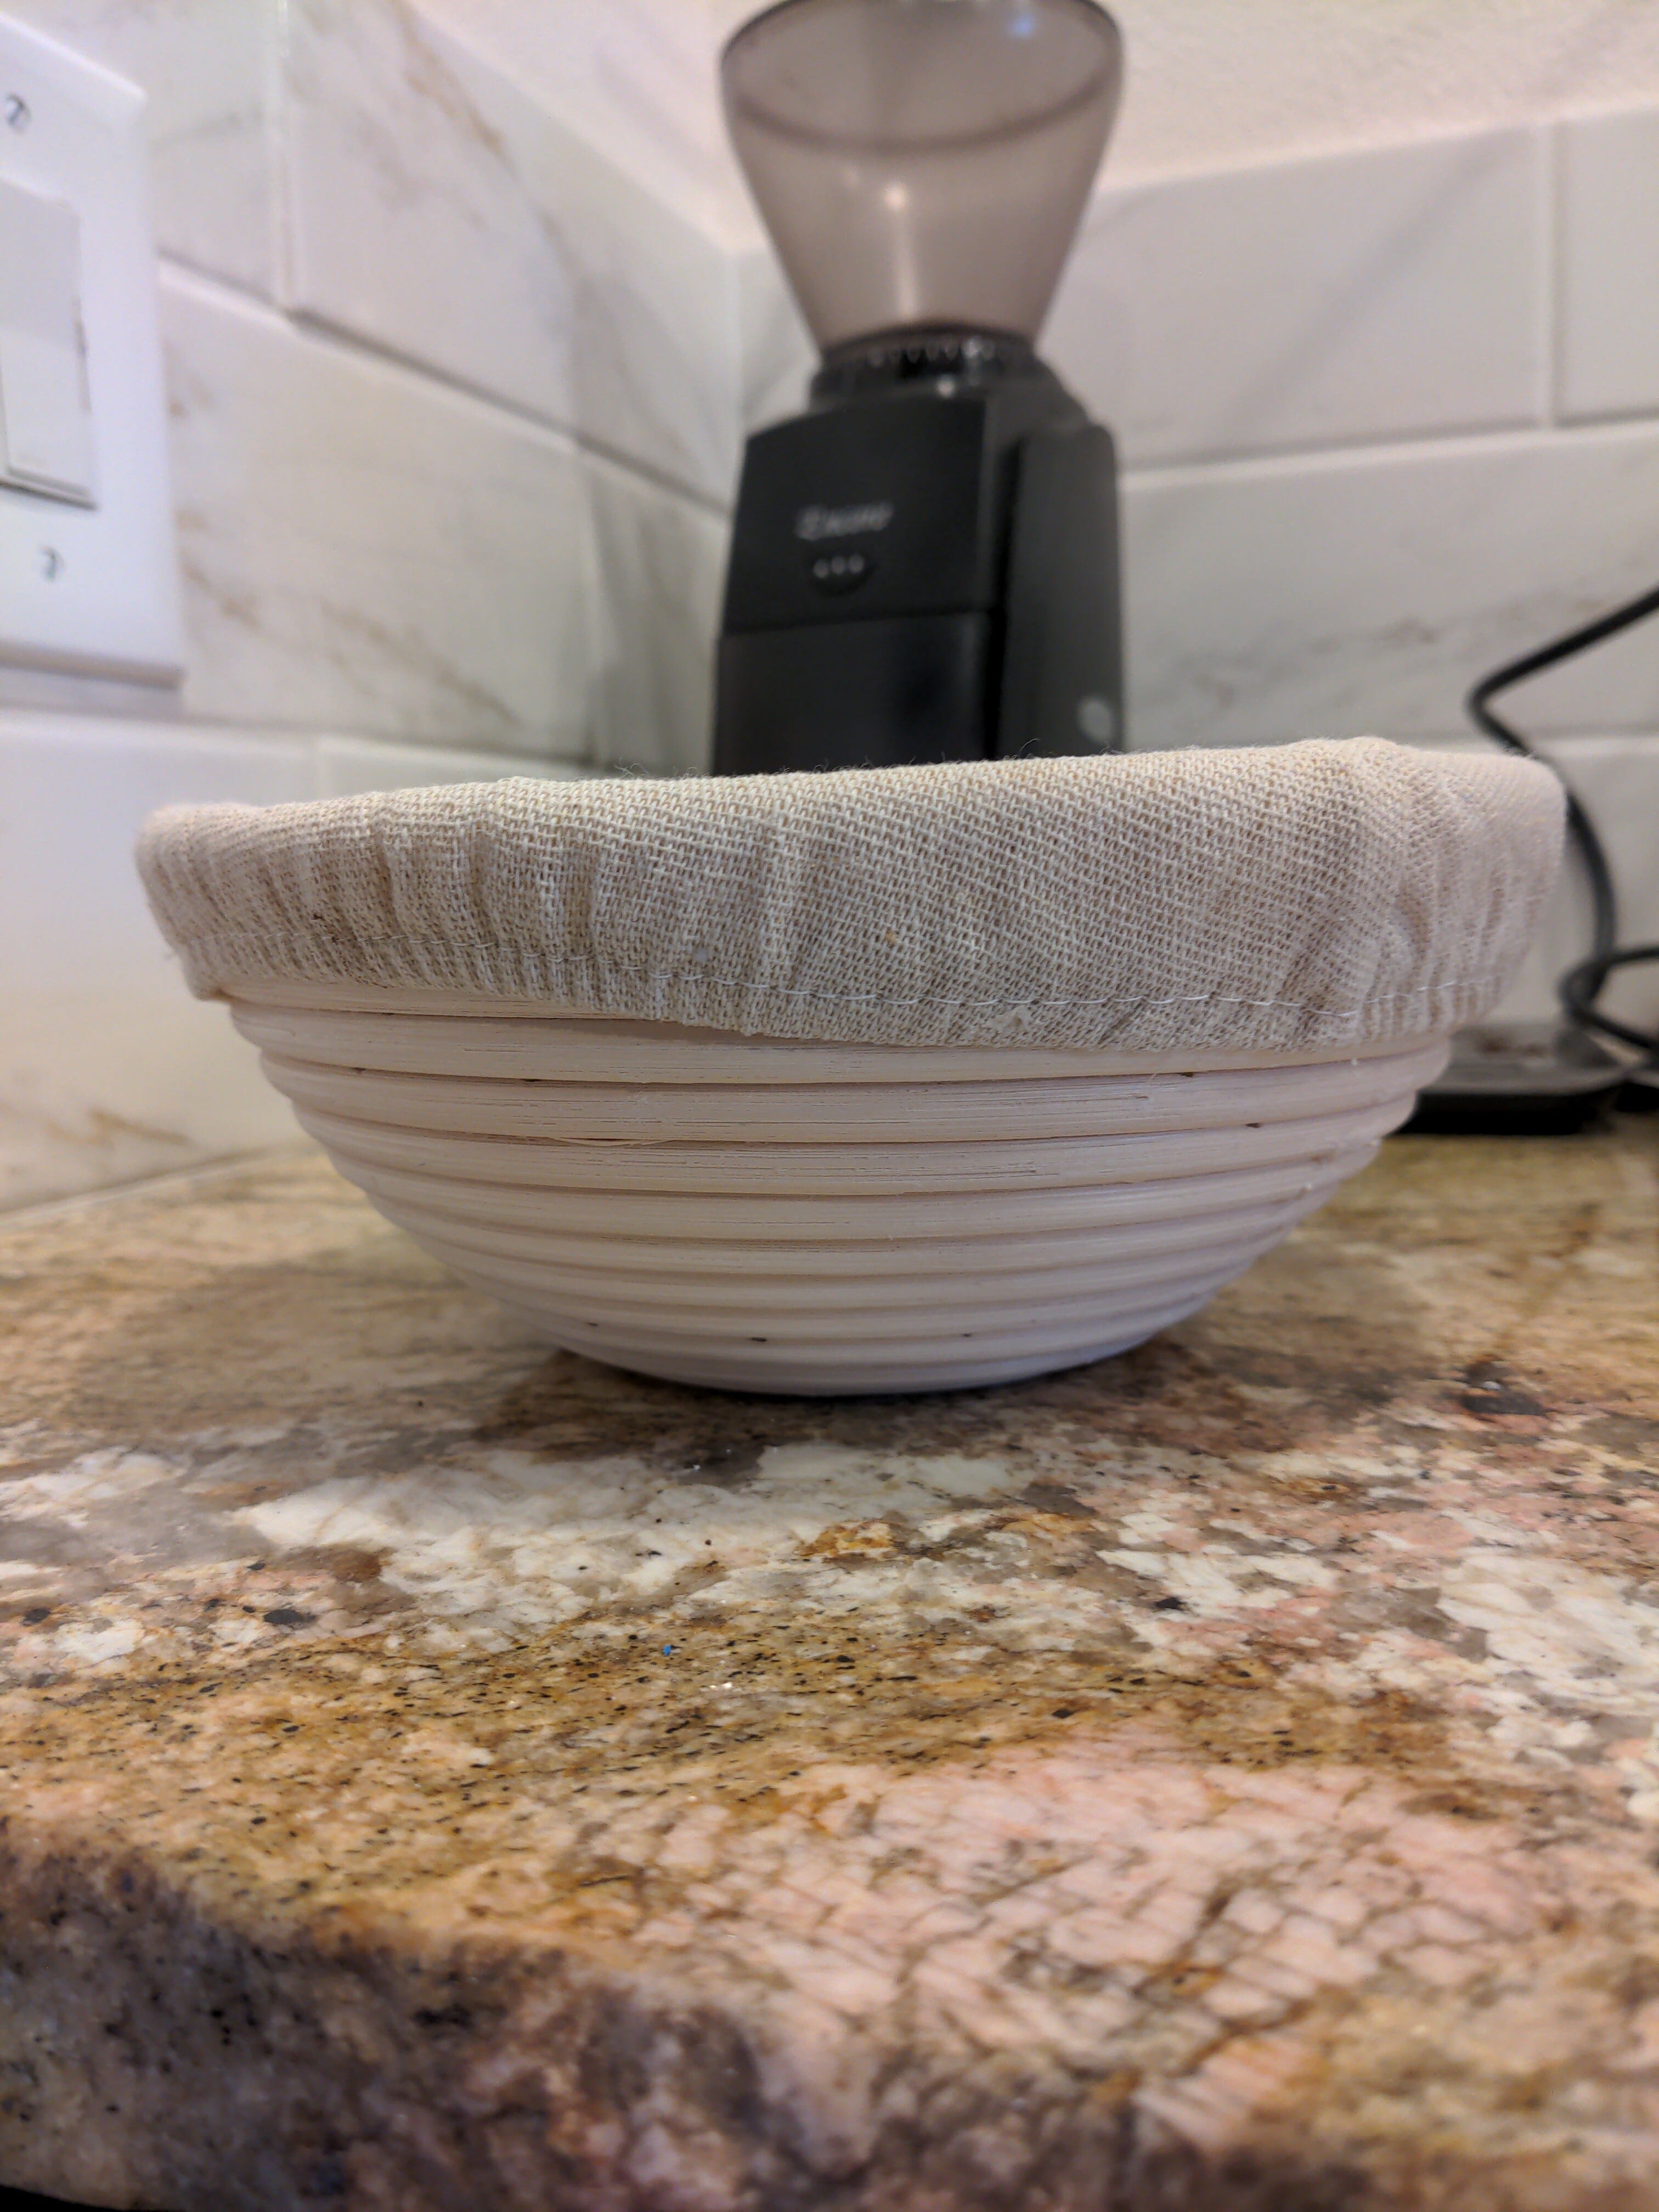
8” Banneton or a small bowl lined with a clean dishcloth
Parchment paper
Cooling rack
Dutch oven (must have)
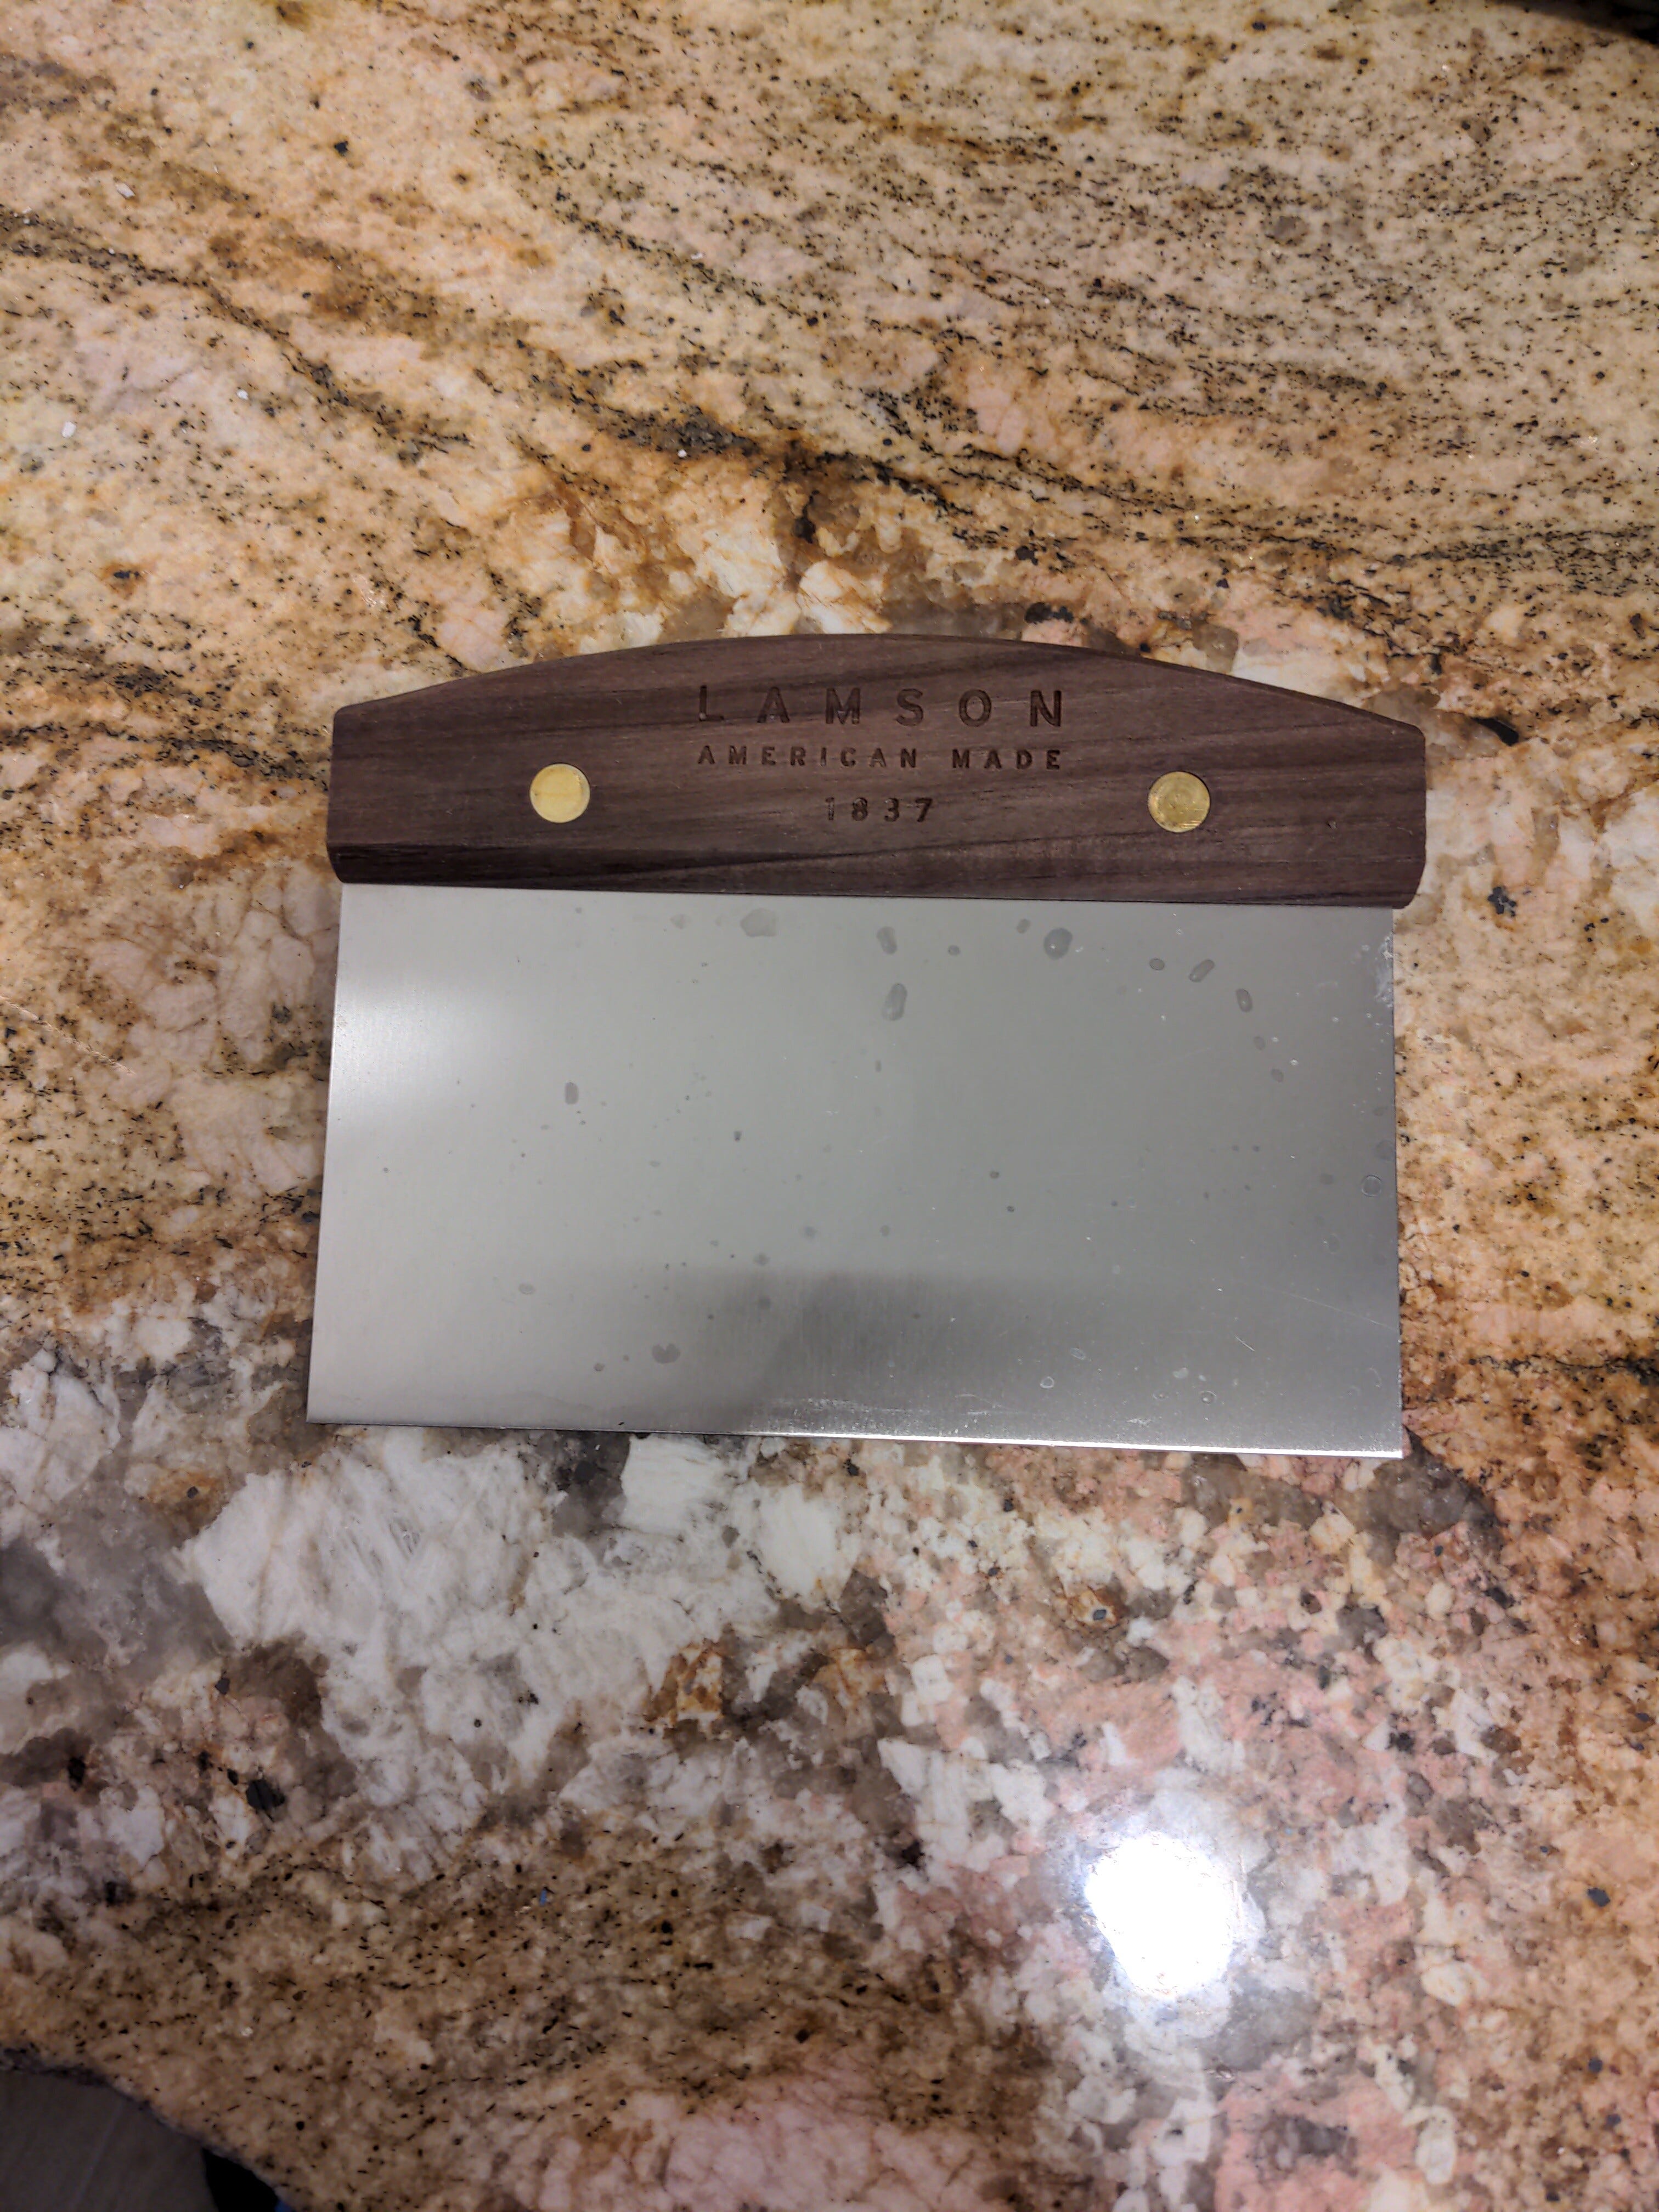
Bench scraper (optional)
Ingredients:
Bread flour (for baking)
All purpose flour (for feeding)
Filtered water
Rice flour (optional)
Unrefined salt
Some Definitions:
Feeding: You feed your starter each time you give it fresh water and flour. You will remove a portion of your starter (all but a couple of teaspoons) and feed the small remainder. Your starter will need to be fed when you bake with it and regularly for maintenance.
Discard: Your sourdough discard is what you remove from the starter each time you feed it. In the beginning, I threw out my discards. Once my starter was mature, I started keeping my discard in a jar in the refrigerator. There are tons of recipes that use sourdough discard as an ingredient, so nothing has to go to waste!
When you bake with your mature starter, the portion you take out to use in the recipe is a discard, so you won’t have to remove more to feed your starter. You will feed your starter again once you remove what you need to bake with.
Mature Starter and Peaking: When your starter is mature, it is ready to bake with. It will look thick and bubbly after a feeding. It will peak (double in size) and this is when it is best to bake with. After it peaks, it will start to slowly fall.
Starting with the Starter
It takes 7-10 days to get a starter that you can bake with. Make sure you’ll be able to tend to your starter every day during this time.
Day 1:
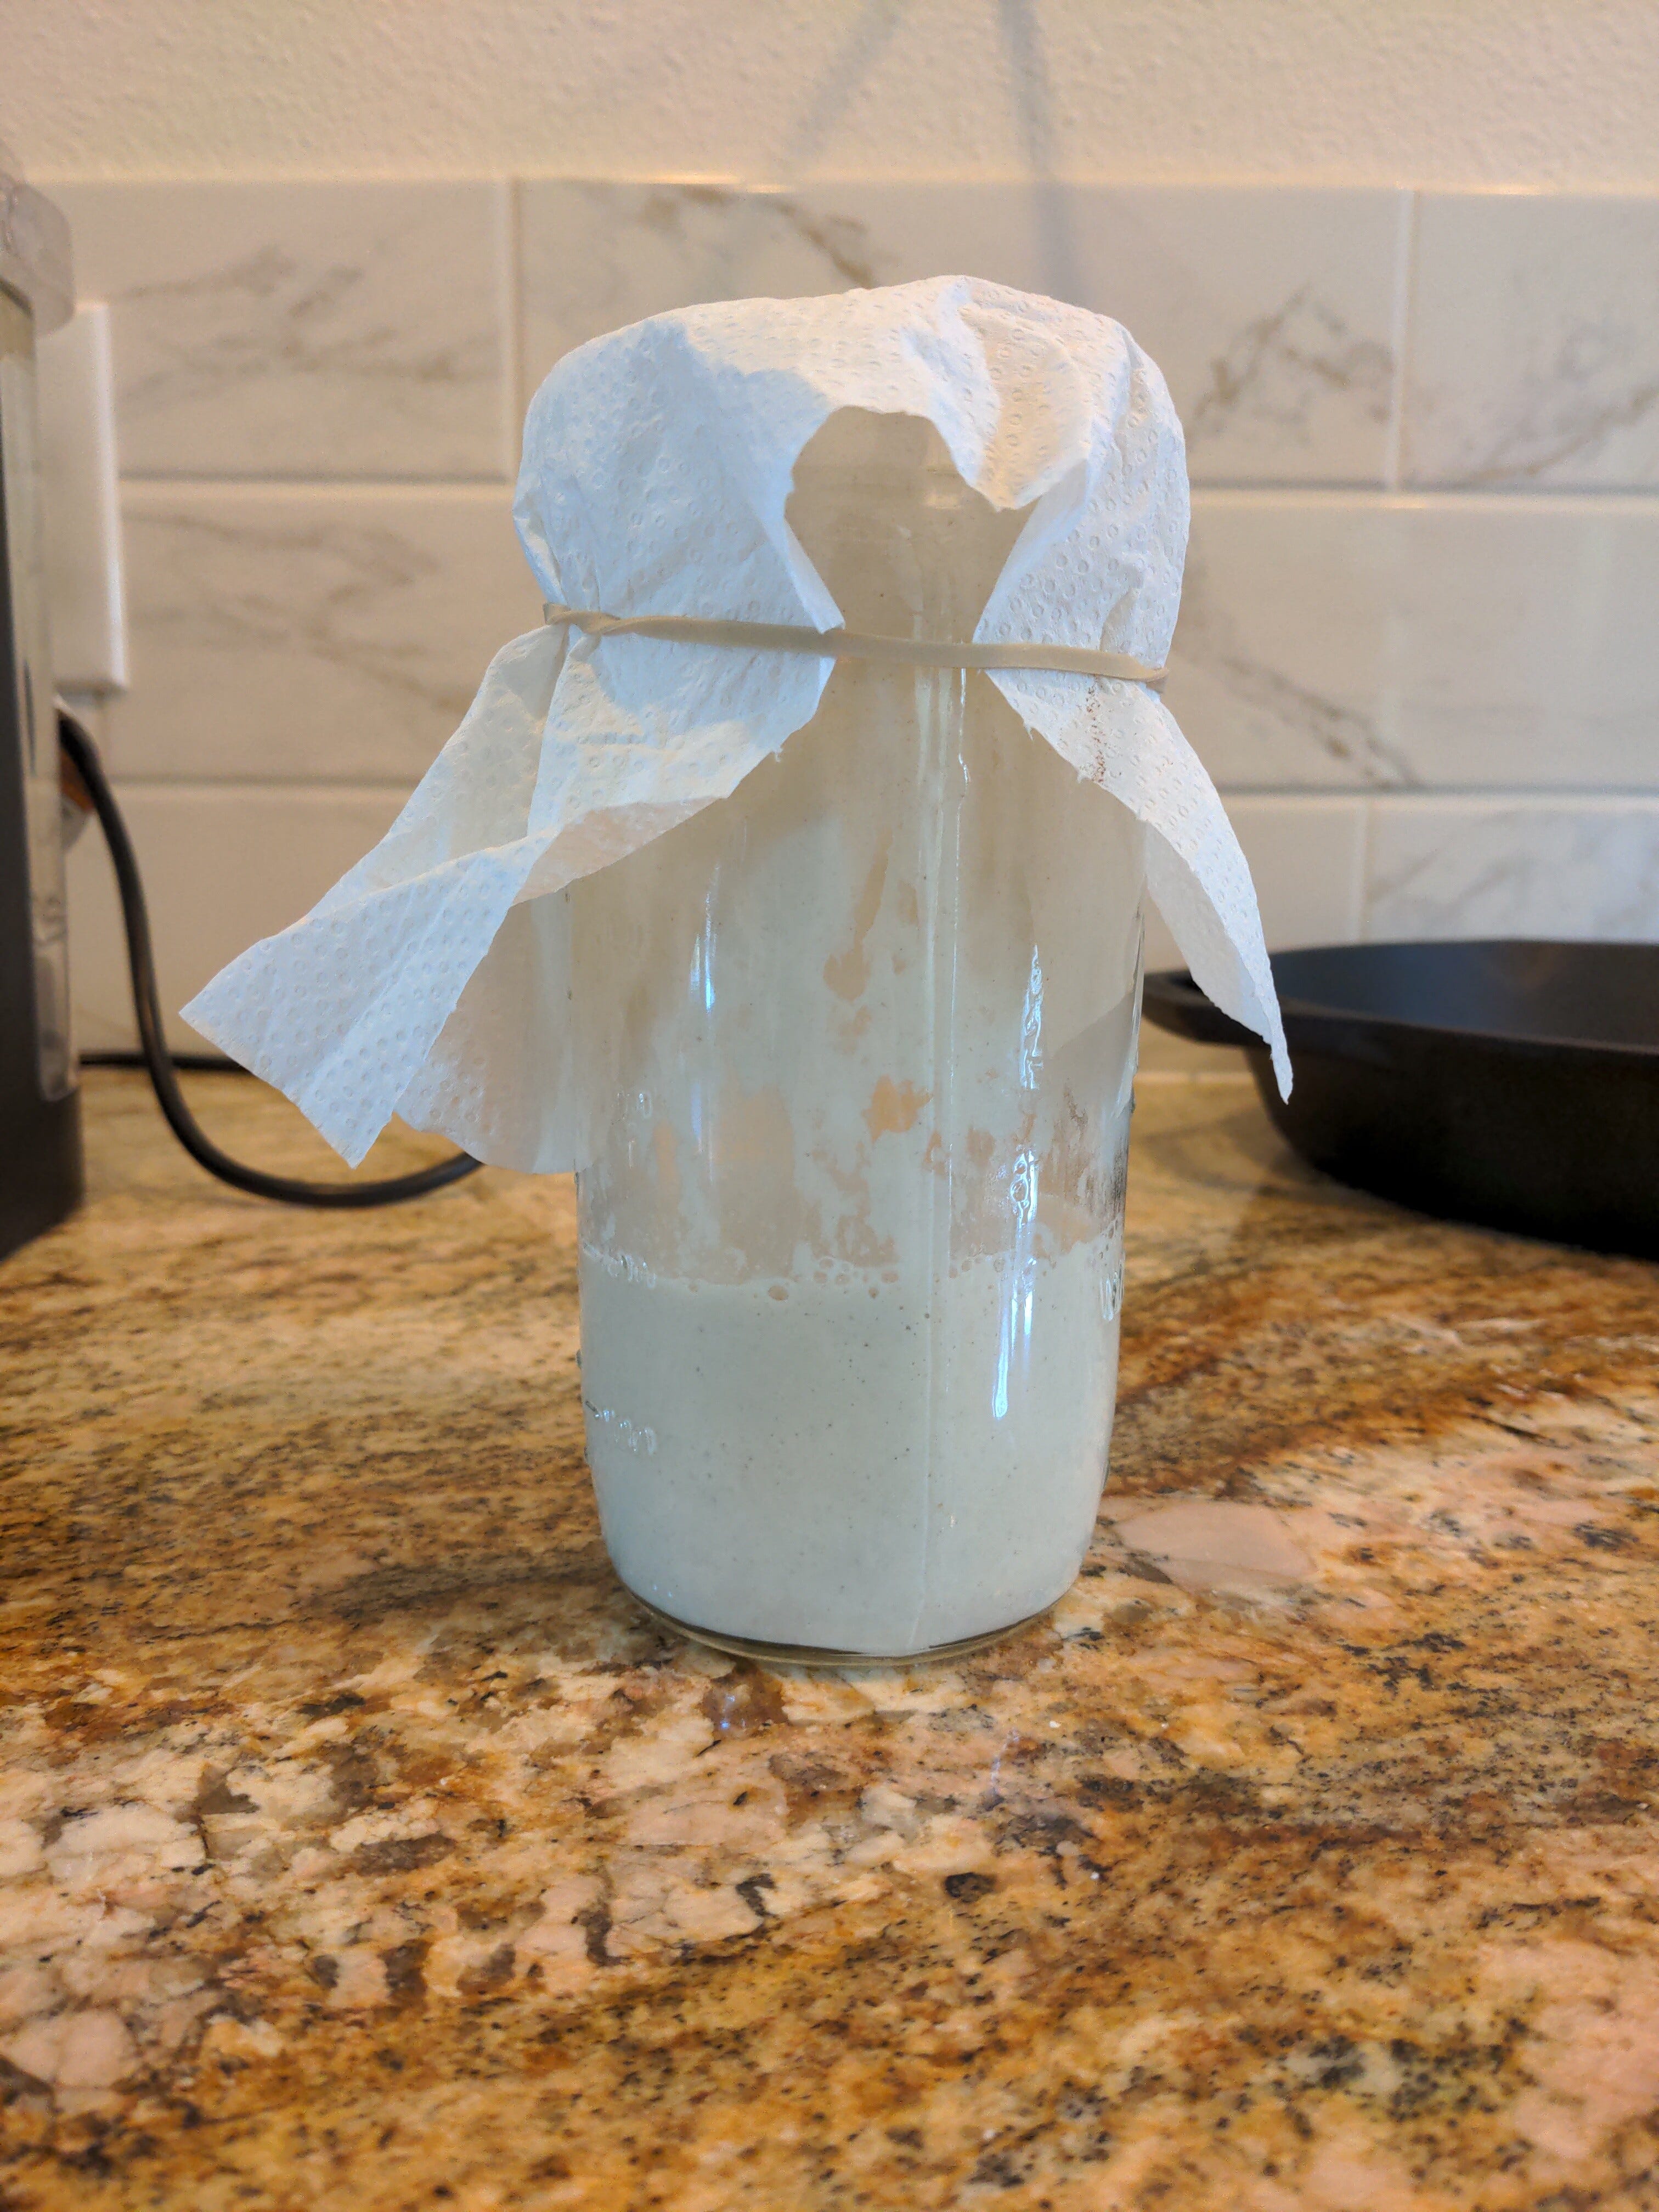
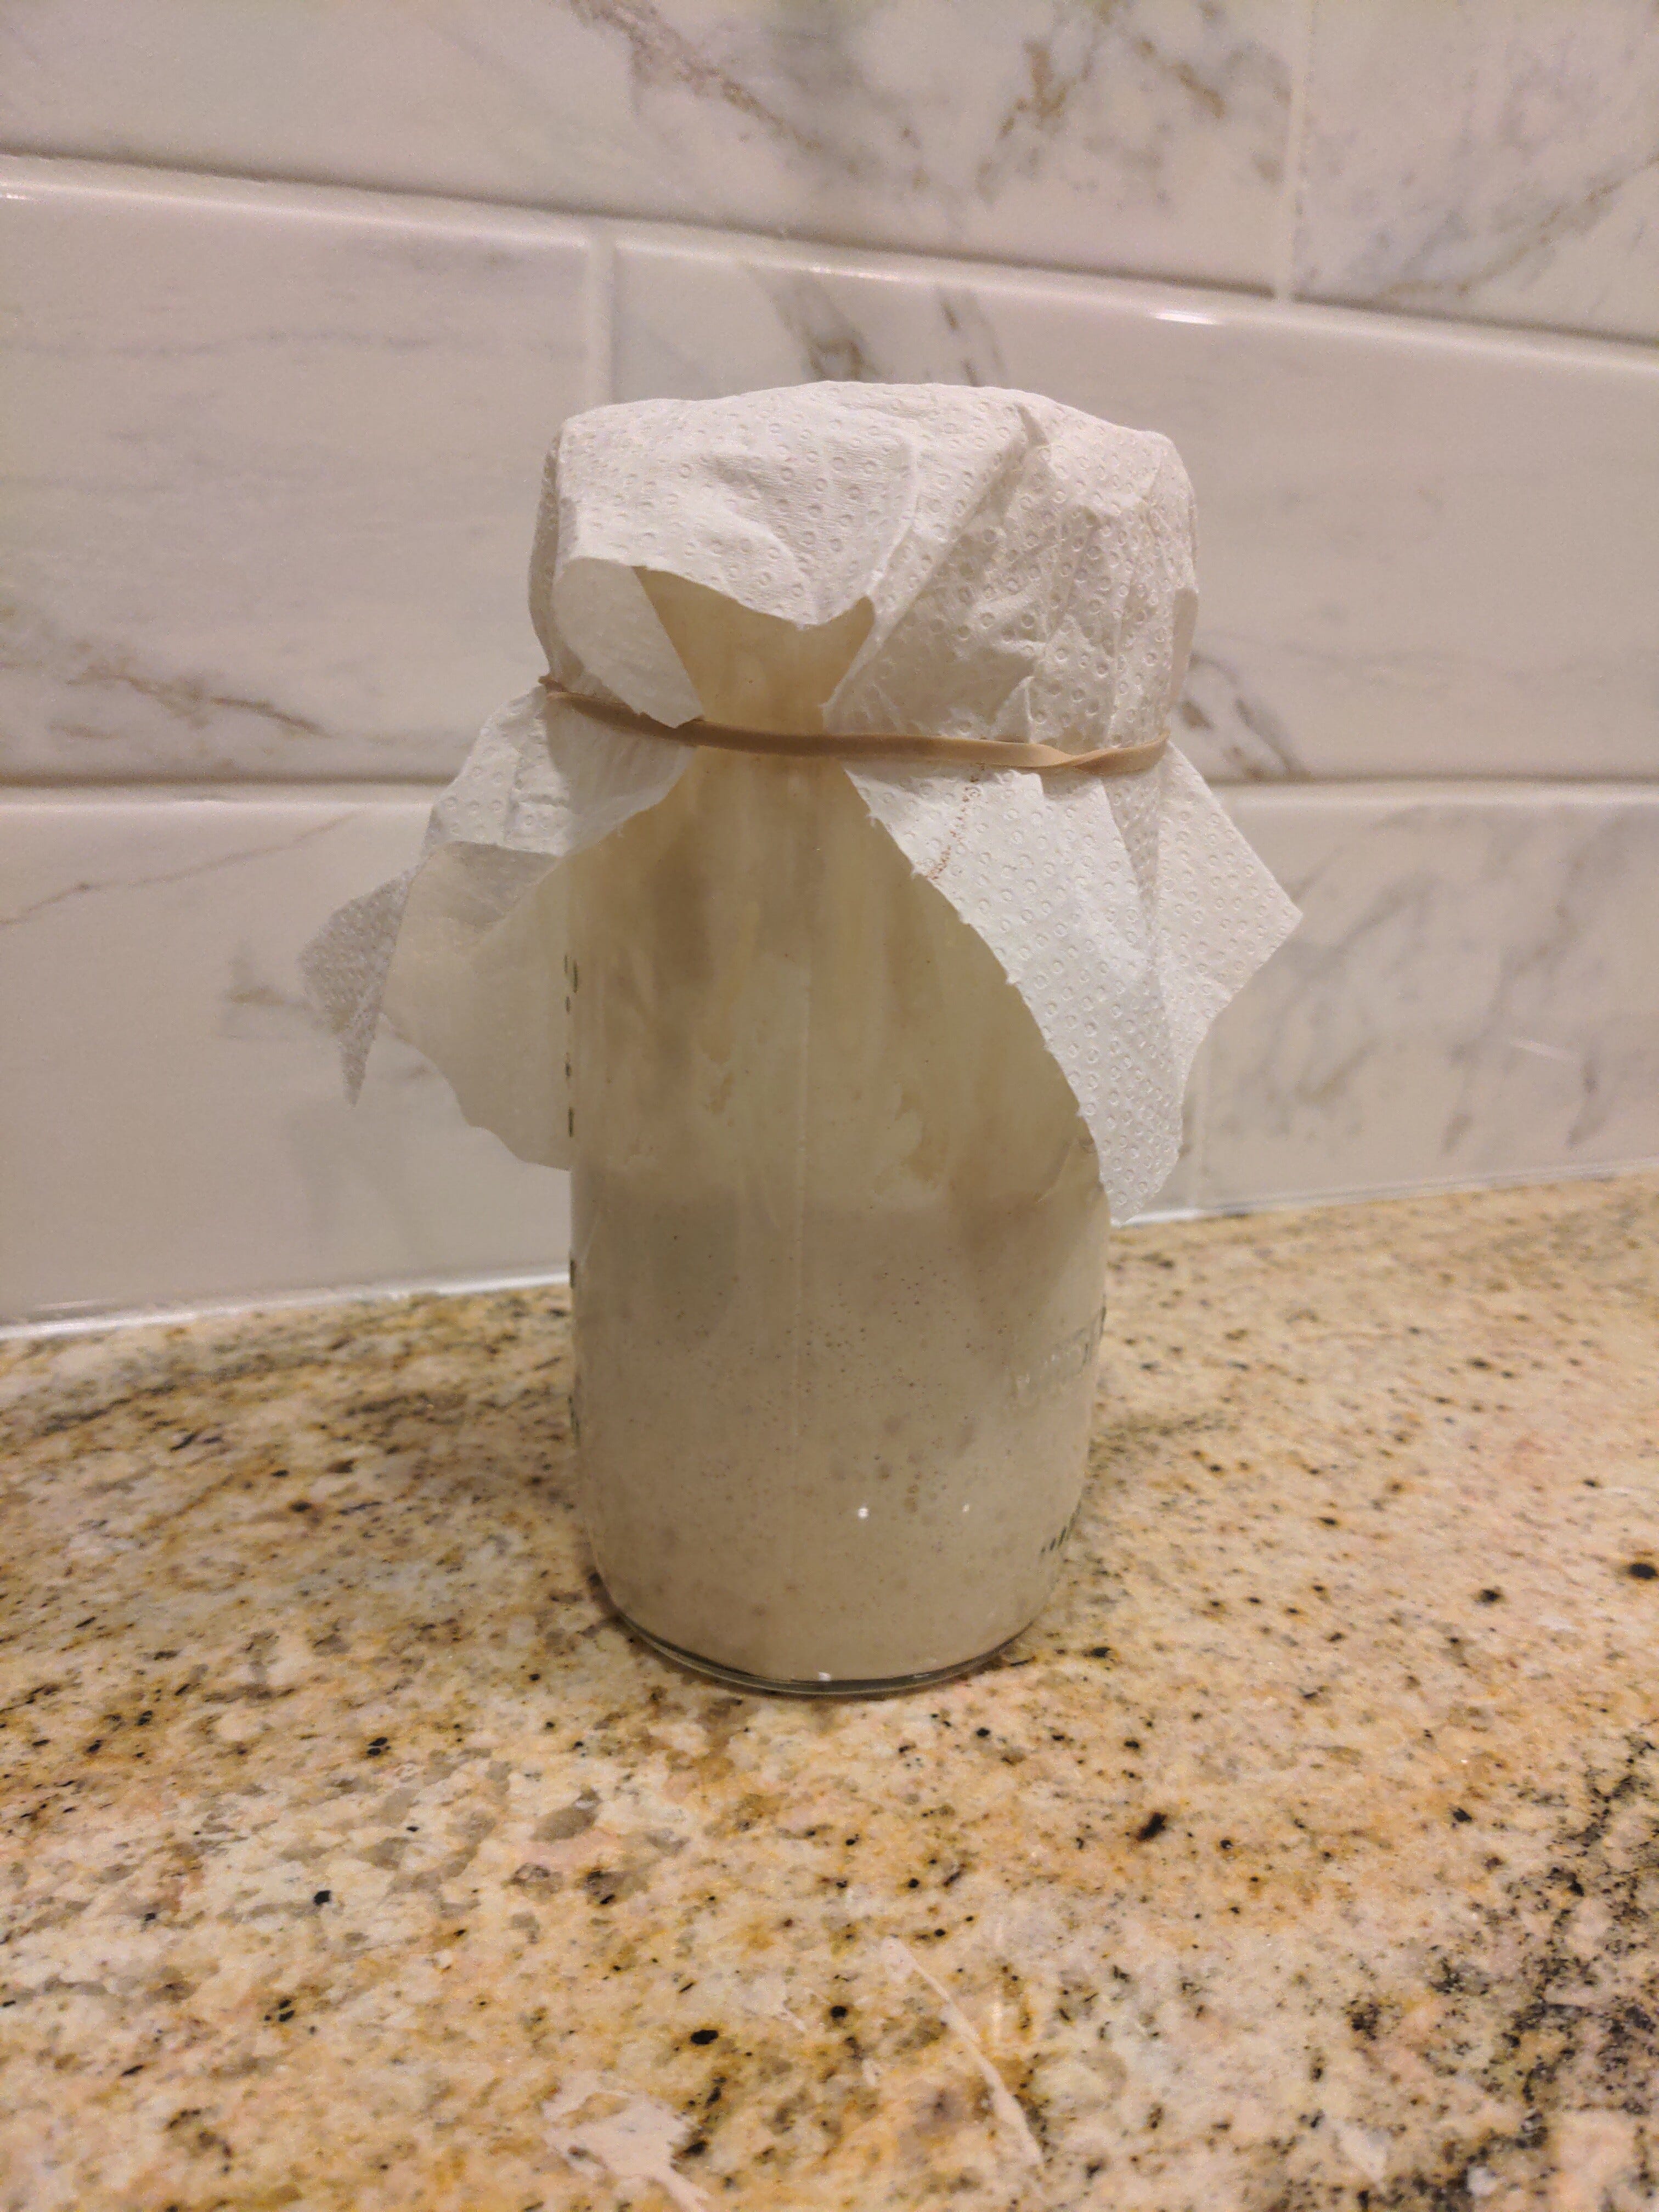
Starting with a clean glass mason jar, mix 50 grams of flour (I use all purpose for feeding) and 50 grams of filtered water and stir together. Cover with a paper towel, secured with a rubber band. This closes the jar off from being contaminated with large particles, but allows the air in your home to enter the jar and begin the process of creating wild yeast and bacteria in your starter. Do not seal off your jar! Wait 24 hours.
Day 2:
Discard 80% of your starter, leaving 20% in your mason jar. Add 50g of fresh flour and 50g of fresh filtered water, stir, cover with the paper towel, and wait 24 hours.
Day 3, 4, and 5:
Repeat day 2. You might start to see some activity in your starter during this time. Small bubbles might begin to form within your starter. This is good! But if you don’t see them yet, it’s not bad either.
Day 6:
If you’re seeing a lot of bubbles in your starter at this point, try feeding it once in the morning and once in the evening. If you’re feeding your starter once per day but not seeing a lot of bubbles after 12 hours, keep feeding it once per day until it looks more active.
Day 7-10:
At this point your starter might be mature enough to bake with. Your starter should be visibly growing after a feeding (usually doubled in size by 12 hours post feeding). You can try a float test to see if your starter is mature.
Float Test:
To perform a float test, take a small amount of starter and place it into warm water. If it floats it’s ready to bake with!
Beyond Days 7-10: I reduced my feedings to once per day after my starter was mature. Depending on when I want to bake, or how much I want to bake determines when and how much I feed my starter. I always use a 50/50 ratio of flour/water when I feed my starter, no matter how much I’m feeding it.
Notes About Your Starter:
When you notice your jar starting to get really cakey, you can change it out. It is not necessary to change it every day, but it is essential to scrape down the sides of your jar when you feed it. I change my jar about once a week.
Mold can grow in a starter. It’s not common, but if you see mold, chuck the starter and begin again.
After your starter is mature, you can store it in the refrigerator if you’re not going to bake for a while or you’re going to go out of town. It will still require a feeding about once a week. It does take some time to get ready to go again after a refrigeration period. If you want to bake with it after a refrigeration period, take it out, feed it, and leave it on the counter. I usually have to feed mine 2-3 times before it’s ready to bake with again.
House temperature (ideally 70-82 degrees) can affect your starter and how it performs. My starter peaks faster when my house is warmer or when it’s next to my stove.
A hungry starter will look deflated, with small bubbles or no bubbles. It can develop “hooch” which is a brownish liquid. It’s harmless. Pour it off or stir it in if you like really sour sourdough.

There you have it! Now go get your starter ready because next up is how to bake your bread! Please feel free to comment or DM on Twitter @bowtiedangel if you have questions.